Servings: 1 worm tower
Equipment
- Cordless drill + drill bit
Materials
- 1 plastic pot - mine are ~20cm wide and ~20cm deep
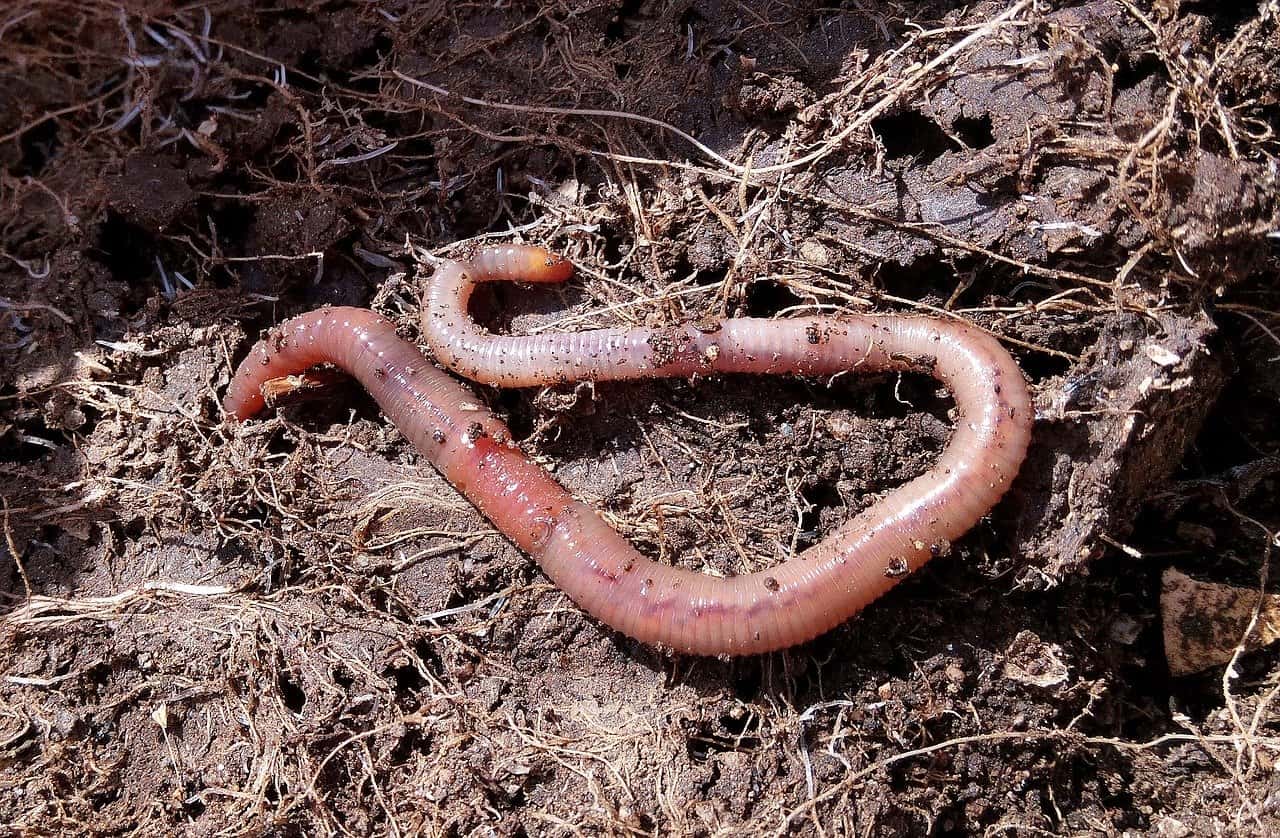
- 1 pack worms (500 should be plenty)
- Coconut fibre, sawdust or straw
- 2-3 sheets newspaper
- Food scraps - volume needed will depend on size and number of pot(s). Start slowly though and build up when the worms become good composters.
Instructions
- Wash and dry the pot(s) you’ll be using then drill several holes all around. Just like in the picture above. Make sure they’re big enough for the worms to easily pass in and out of
- Dig a hole in your garden bed, large pot or Vegepod for the pot to fit snugly into. Mine was about 17cm deep for the 20cm pot I was using
- Fill in around the edges with soil if needed to ensure the pot is snug. Leave approximately 2-5cm of the pot sticking up above the soil so you can put the ‘lid’ on. Also, be sure to choose a spot that is easy to access so you don’t forget to feed the worms regularly
- Keep in mind when layering things in, that you only want to fill the pot about halfway. To start your layers - add something gritty like coconut fibre, sawdust or straw to the bottom of the pot
- Tear a good amount of newspaper into strips and soak for a few minutes. Wring it out and add that on top. Worms like a moist, dark environment so don’t be stingy with the newspaper
- Make a little well in the centre of the newspaper and add your worms in there. It makes them feel snug and safe
- Cover with the wet newspaper or add a little more on top
- Now give the worms a few days to settle into their new home. I left mine for four or five days. They will feed on their bedding in the interim, then on the scraps when they’re added later. The lid helps to shelter them from the elements and keep them out of direct light.
- After the worms have been in their new tower for a few days you can start adding your kitchen scraps. Initially, it’s good to chop them up too, until the worms get bigger and more robust. It helps them get through the scraps faster.
Notes
REMEMBER: Worms don’t like to be fed things like citrus, onion, garlic, spicy foods, dairy, meat or bones so keep those out.
Mould in the worm tower: This can happen in a new tower but is no real cause for concern. It might just mean you're adding a little too much for the worms to get through. Try chopping the scraps up more so the worms get through it faster. And also make sure you're not adding too much for them.